Whether you use a front-loading or top-loading washing machine, regular cleaning is essential. Without it, mould, limescale, and detergent buildup can cause musty smells and even leave stains on your clothes, and damage your washer. Aside from these, your washing machine can have harmful bacteria.
To clean your washer properly, you can follow the steps below.
- Clean the drum
- Clean rubber gaskets and lid areas
- Clean the detergent dispenser drawer and bleach compartment
- Clean the filter and lint traps
- Use a bleach cleaning cycle(optional)
- Deodorise the drum and maintain airflow.
In this guide, we will go through the steps on how to clean a washing machine properly, either a front-loader or a top-loader, in detail.
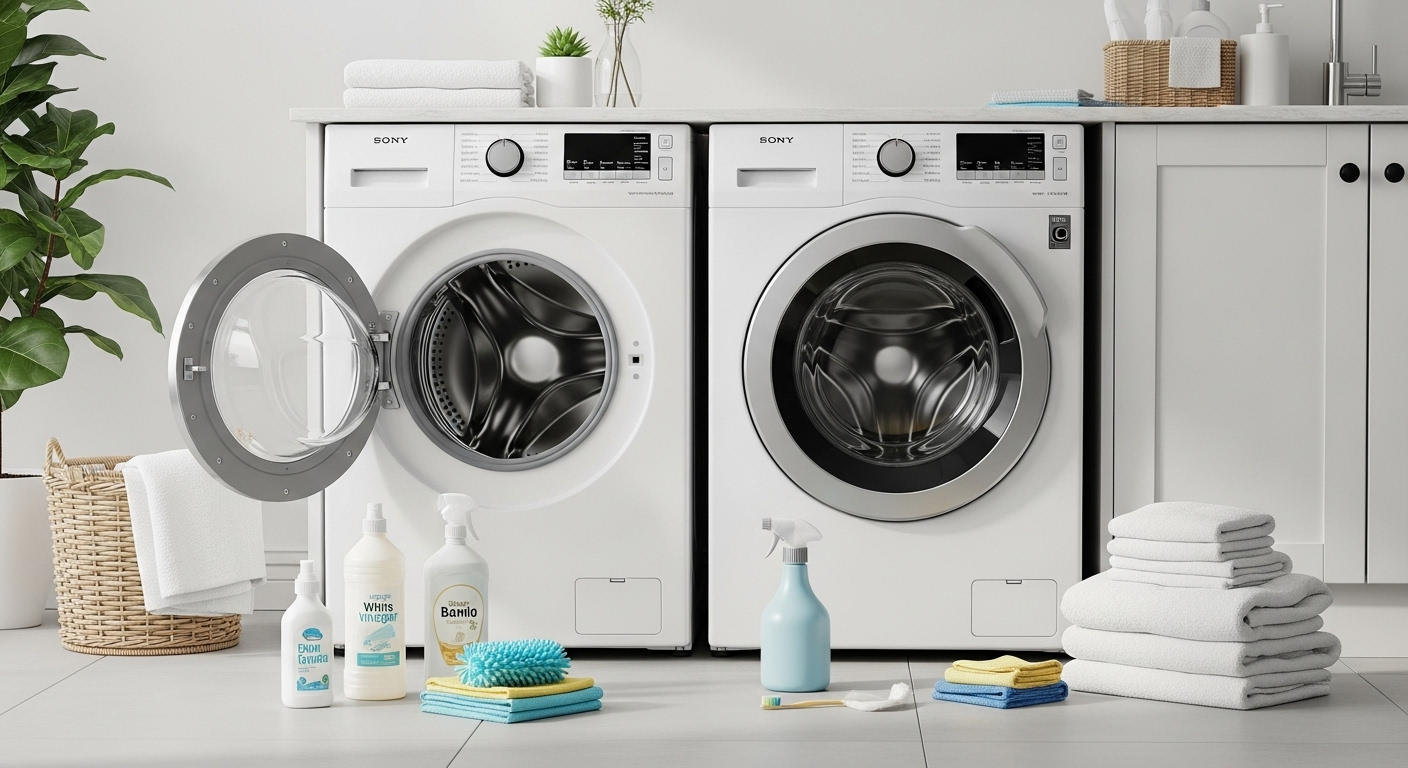
What Is Your Washer Type– Front-Loading Vs. Top-Loading Machines
Front-loaders and top-loaders differ in structure and require different approaches to cleaning in certain aspects.
- Front-load washers seal tightly to prevent leaks, but that also traps moisture, dirt, and grime. You will often find mould hiding in the rubber gasket around the door.
- Top-loading washers are more open. They dry faster, but still collect grime around the lid and lint filters.
Therefore, you must be precise for the specific type. That’s why we will discuss every step for both types separately if required.
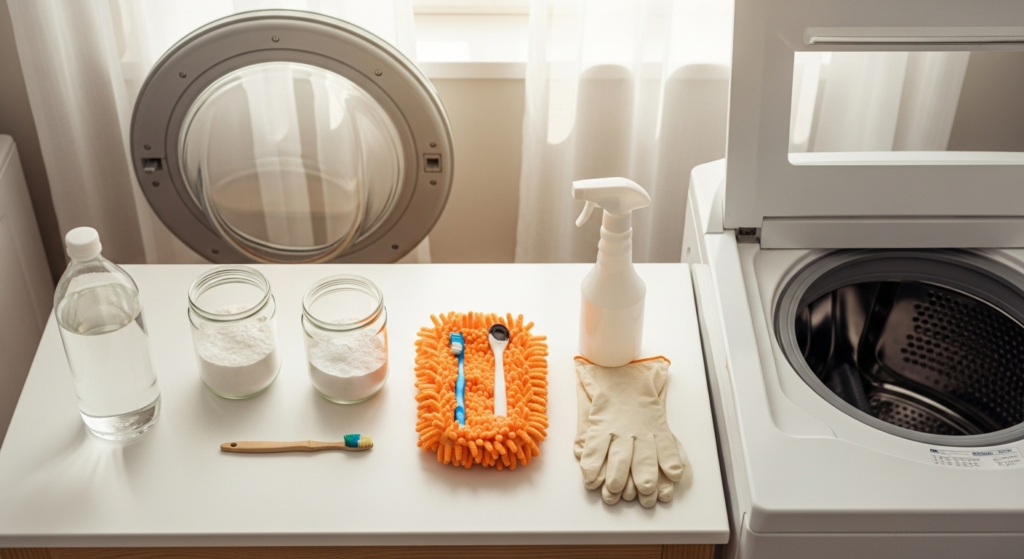
Elements You Will Need Through the Cleaning Process
You will need the following materials throughout the entire cleaning process for both front-load and top-load washers. So, gather all these elements before you start the cleaning.
- Vinegar
- Baking soda
- HE detergent
- Bottle sprayer
- Toothbrush/automated rubber brush
- Microfibre cloths
- Dishwashing soap
6 Easy Steps to a Front-Load Washer Cleaning
Here are the 6 steps for your front-load washer cleaning.
Step 1: Run a Hot Water Cleaning Cycle or Self-Clean Cycle
A hot water cleaning cycle helps washers loosen residue, dirt, grime, and kill bacteria.
- Empty the washing machine. Remove everything from your clothes or whatever is inside.
- Make sure there are no clothes, no detergent, just high heat to loosen grime.
You can do it manually, or if your front-loader has a machine self-clean cycle, use it. It’s designed to deep-clean the inside using extra hot water and longer rinsing.
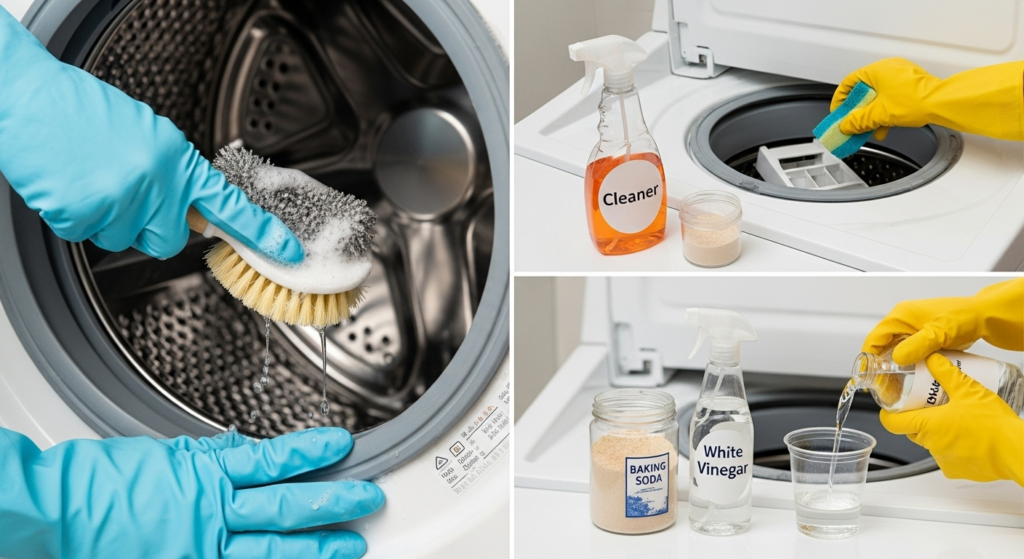
Step 2: Use Vinegar and Baking Soda Or HE (High-Efficiency) Detergent to Clean the Drum
This step will entirely clean the drum and remove the loose dirt and grime.
- Pour 2 cups of white vinegar into the detergent tray, bleach section, and softener compartment.
- Add ¼ cup of baking soda directly into the drum.
The vinegar and baking soda method breaks down soap scum and helps with limescale buildup in washers. It also helps remove musty smells.
Or,
- You can use commercial washing machine cleaner, such as HE(high-efficiency) detergent, directly into the detergent section. The detergent contains surfactants and enzymes, which clean your washer efficiently. Put ½ cup of detergent.
- Now, set the washer to the normal setting, with hot water above 60 degrees Celsius, because only 50% of domestic washers can decontaminate bacteria with 60°C heat.
- Select a heavy load.
- Then, start the clean cycle.
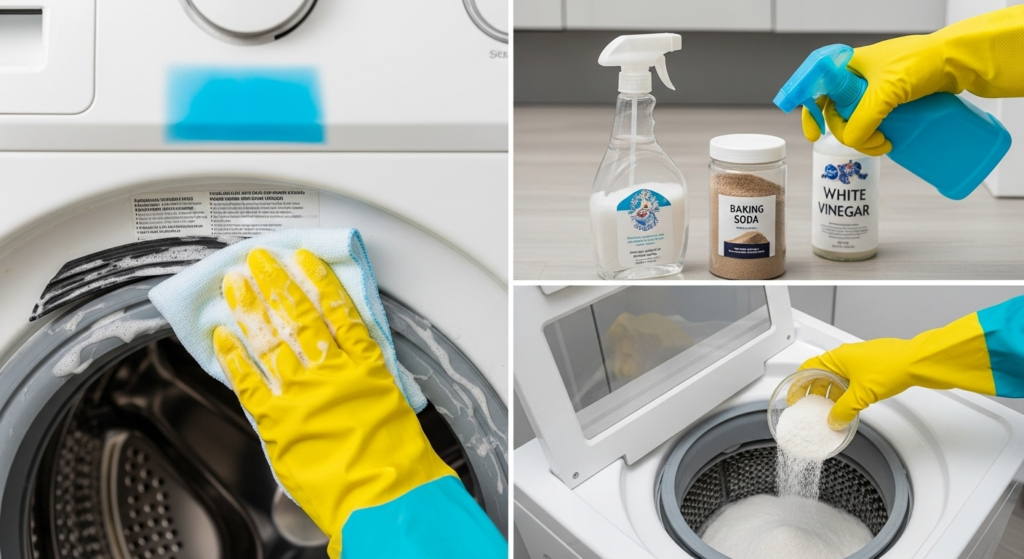
Step 3: Clean the Rubber Gasket Area
Now, check the door seal. You will often find black grime and lint there. If you don’t clean them regularly, there is a possibility of growing mould as well.
- Mix one cup of vinegar, one cup of baking soda, and one cup of dishwashing soap in a bottle sprayer.
- Spray the mix on the gasket seal on the grime.
- Use a toothbrush or an automated rubber brush to rub and loosen the grime.
- Now, clean the rubbed leftovers with a clean microfibre cloth. Clean until the gasket area dries properly.
This is crucial for rubber gasket cleaning and to prevent mould and mildew.
Step 4: Clean the Detergent Dispenser
Remove the detergent drawer on the left top of the washer(in most cases). Soak it in warm water mixed with vinegar or HE detergent.
- Use an old toothbrush to scrub it.
- Clean inside the compartment where the drawer fits with an old brush and a clean microfibre cloth.
- After drying them properly, reassemble them.
Regular detergent dispenser maintenance stops mould from forming and improves detergent flow.
Step 5: Clean the Drain Hose and Drain Filter
In most cases, you will find the drain hose and the drain filter at the bottom left of the washer under a cover.
- Remove the filter cover.
- Pop out the drain hose from the washer, and then pull out the drain plug from the hose. Shake the hose and remove the grime inside the hose.
- Now, reassemble the hose with its plug into the washer.
- After that, remove the drain filter alongside the hose. Turn the filter counterclockwise.
- Shake the filter to remove loose dirt, then soak it in a mixture of vinegar or HE detergent and warm water.
- Scrub and clean the washing machine filter with an old brush, rinse it well, dry it, and reassemble it.
This improves drainage and helps the washer drum deodorise.
Step 6: Wipe Down the Drum and Door
After washing everything, wipe the inside of the door and the drum.
- Use a soft cloth.
- Focus on the glass, the rubber gasket, and any moisture spots.
- Keep the door open for washer drum deodorising.
Moisture leads to mildew. Keeping things dry helps extend the life of your washer.
6 Steps to Clean a Top-Loading Washing Machine
Top-load washers are a little easier to clean. They dry faster and have fewer gasket issues, but they still need attention. Dirt, soap scum, and lime scale buildup can still cause odours and slow performance.
Here are 6 steps to clean a top-loader at home.
Step 1: Empty the Machine and Remove the Removable Parts
- Make sure you empty the machine thoroughly. Anything inside the machine will hamper the washer’s cleaning process.
- Remove the removable parts of your top-loading washing machine. Many machines have an agitator and an agitator centre, where actually the fabric softener goes through. Remove the agitator centre and the agitator itself.
You can remove the centre by twisting it by hand. To remove the agitator, generally you need to use a 7/16 socket with an extender head, or see your washer manual.
- Also, many top-loaders have a bleach dispenser. Remove the dispenser cover.
- Your top-loader may have a drain filter plug under the agitator, and a filter outside the bottom of the washer (front or rear) with a cover. If it’s outside, remove the cover and pull off the filter anticlockwise.
Step 2: Wash the Removable Parts
Now, it’s time to wash the removable parts.
- Fill your water sink or a bucket with water. Mix a cup of white vinegar and a little bit of dish soap, and mix them properly.
- Soak the agitator centre, the agitator itself, and the bleach dispenser cover in the mix.
- Scrub the top, bottom, and edges of the parts with an old toothbrush thoroughly. After cleaning all the dirt and grime, rinse them and dry them properly.
Step 3: Clean the Buildup in Detail in Different Areas of the Washer
Now, you need to clean the buildup across the washer. The areas you need to clean are generally the bleach compartment, the bottom centre where the agitator fits, and the side-to-side of the drum.
- Make a mixture of cleaning solution with 1 cup of white vinegar, 1 cup of baking soda, and 1 cup of dishwashing soap in a spray bottle.
- Spray the solution onto the bleach compartment, the agitator placement surface, and the side-to-side area of the drum. Simply push and pull the drum to expose the areas.
- Rub the areas with an old brush, or you can use a battery-powered brush.
- Use a microfibre cleaning cloth to wipe the areas.
- For the bleach compartment inside, you can use a pipe cleaner.
- After cleaning, dry the areas, reinstall the agitator, the agitator centre, and the bleach compartment cover.
Step 4: Wash the Drum
Now, it’s time to wash the drum.
- Set your washer to the largest load and hottest temperature.
- Let it fill fully.
- Add 4 cups of white vinegar.
- Once filled and mixed, let the drum soak for 1 hour. The vinegar will break down the mineral buildup, kill bacteria, and loosen grime inside the drum.
- After soaking, add 1 cup of baking soda.
- Start the cycle, and let it complete.
This neutralises odours and boosts cleaning. The vinegar and baking soda method is safe and effective here, too.
- However, instead of the vinegar and baking soda method, you can use ½ cup of HE detergent only. But don’t mix the detergent and vinegar together.

Step 5: Rinse with a Bleach Cleaning Cycle (Optional)
If your washer still smells, try a bleach cleaning cycle.
- Add 1/2 cup of bleach to the bleach compartment.
- Run a full hot cycle.
- Then run a rinse cycle to flush out bleach.
Bleach kills mould and bacteria, but use it only if needed. Never mix bleach and vinegar.
Step 6: Make the Drum Fresh
After each wash, lift the lid and let it stay open. This dries out the drum, stops mildew, and helps remove musty smell issues.
Washing Machine Cleaning FAQs
1: Why does my washing machine still smell musty after cleaning?
Moisture and residue in the gasket, drum, or filter are common causes. Make sure everything is dry after each wash.
2: How do deep-clean vs. maintenance-clean cycles differ?
A deep-clean cycle is a thorough process that removes built-up mould, detergent residue, and limescale using hot water, vinegar and baking soda, or even bleach. It’s done once a month or when your washer smells or looks dirty.
A maintenance-clean cycle is lighter and more frequent, such as once every two weeks. It helps keep your washer fresh by wiping the drum, cleaning the gasket, and leaving the door open after each use. Doing both helps prevent damage and keeps your washer running well.
3: Is bleach safe to use in washing machines?
Yes, but only occasionally. Always run an extra rinse after using it. Don’t use it with vinegar.
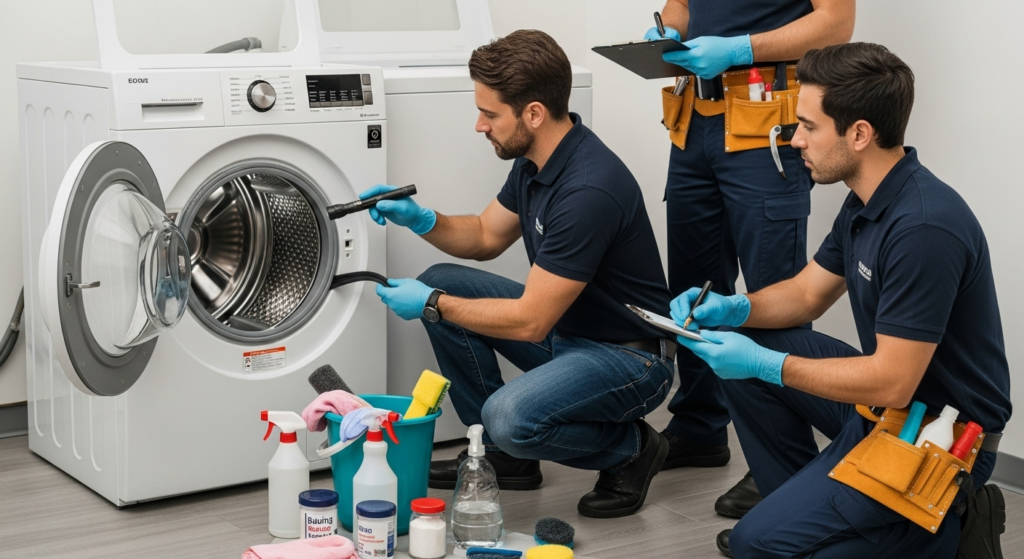
4: Is professional washing machine cleaning worth it?
Yes, of course. If you can’t handle cleaning your washer properly, or if you’ve skipped some regular cleaning and your washer already has stubborn mould and mildew growth, hiring a professional cleaning service is a good decision.

Final Thought
Cleaning your washer isn’t just about looks. It keeps clothes fresh, protects your washer, and stops mould before it starts, which is crucial for health. Whether you use a front-loading or top-loading washer, clean your washer once a month to keep it running smoothly.
If you’re looking for eco-friendly deep cleaning or professional assistance, Eco Cleaning Brisbane has over 20 years of experience across Brisbane. For the best cleaning of your washer, please call us at +61 7 3189 2759 or email us at info@ecobrisbane.com.au.