The University of Queensland claims that 12% of childhood asthma is associated with cooking gases. Their study also suggests that it can be reduced to 3% by properly using range hoods. It absorbs gases, and removes smoke, steam, and odours. The kitchen appears cleaner and fresher. You feel more comfortable to cook in the kitchen in a healthier environment. The range hood should be cleaned on a regular basis. A clean range hood works better and reduces fire risk as well. It won’t be very difficult or time-consuming to clean the exhaust hood.
Table of Contents

What Equipment You Will Need
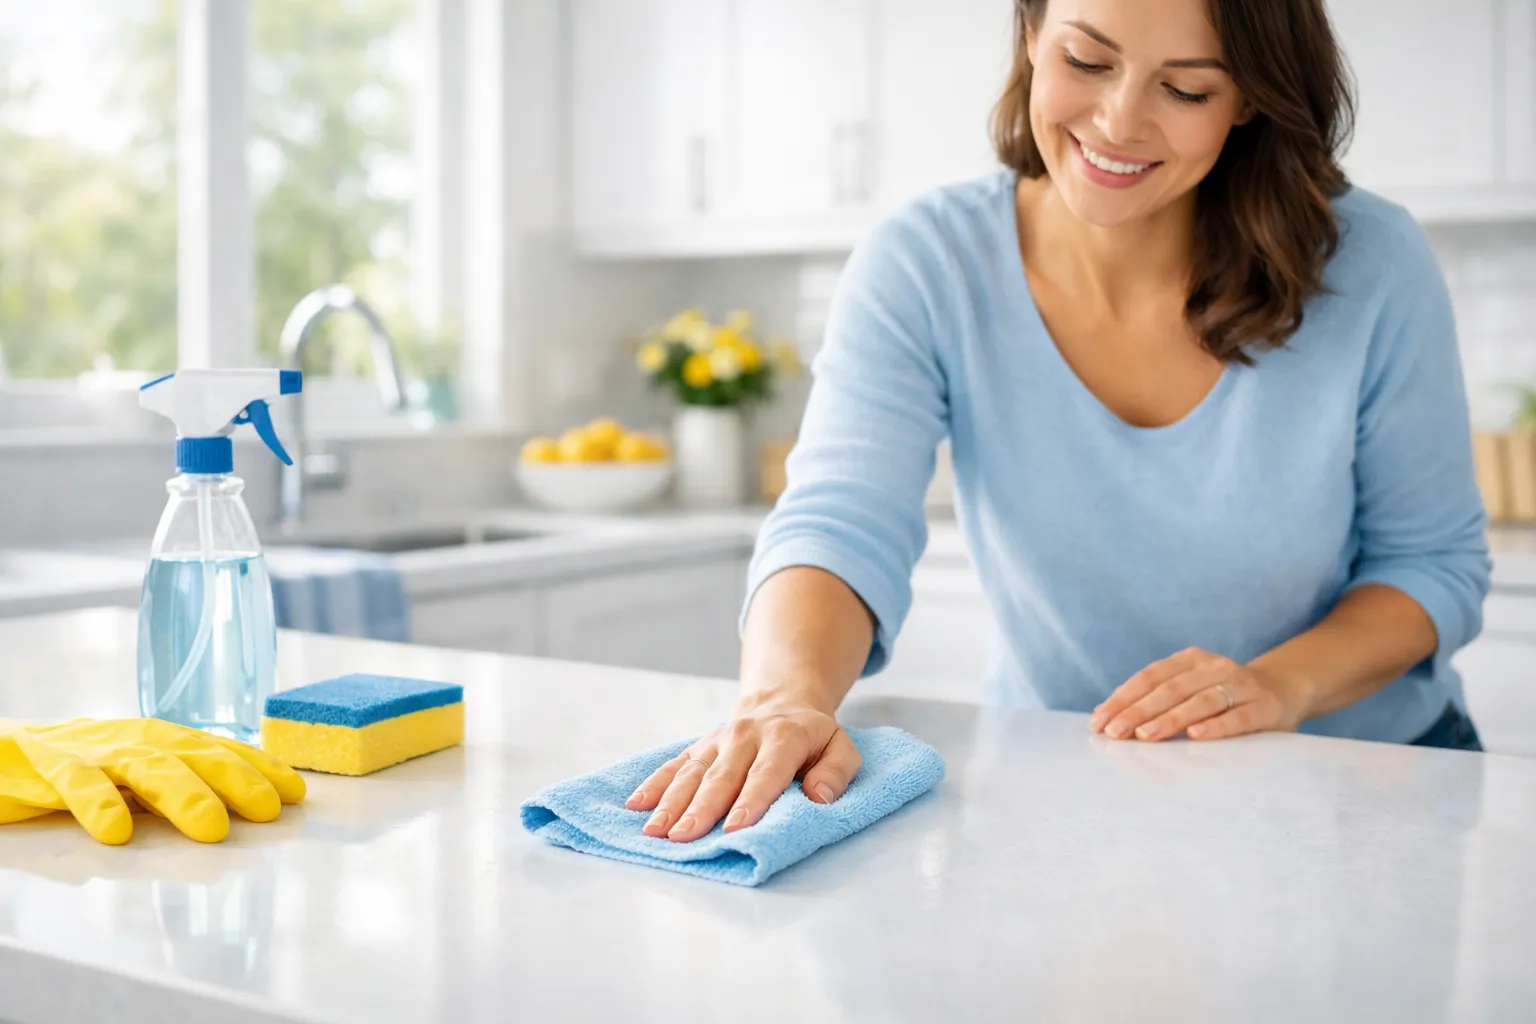
You will need some equipment to clean the vent hood. It’s better to arrange them before starting to work. This saves time and helps in carrying on the cleaning without interruption. You will need the following items:
- Warm water
- Dish soap
- Baking soda
- White vinegar
- Scrub brush
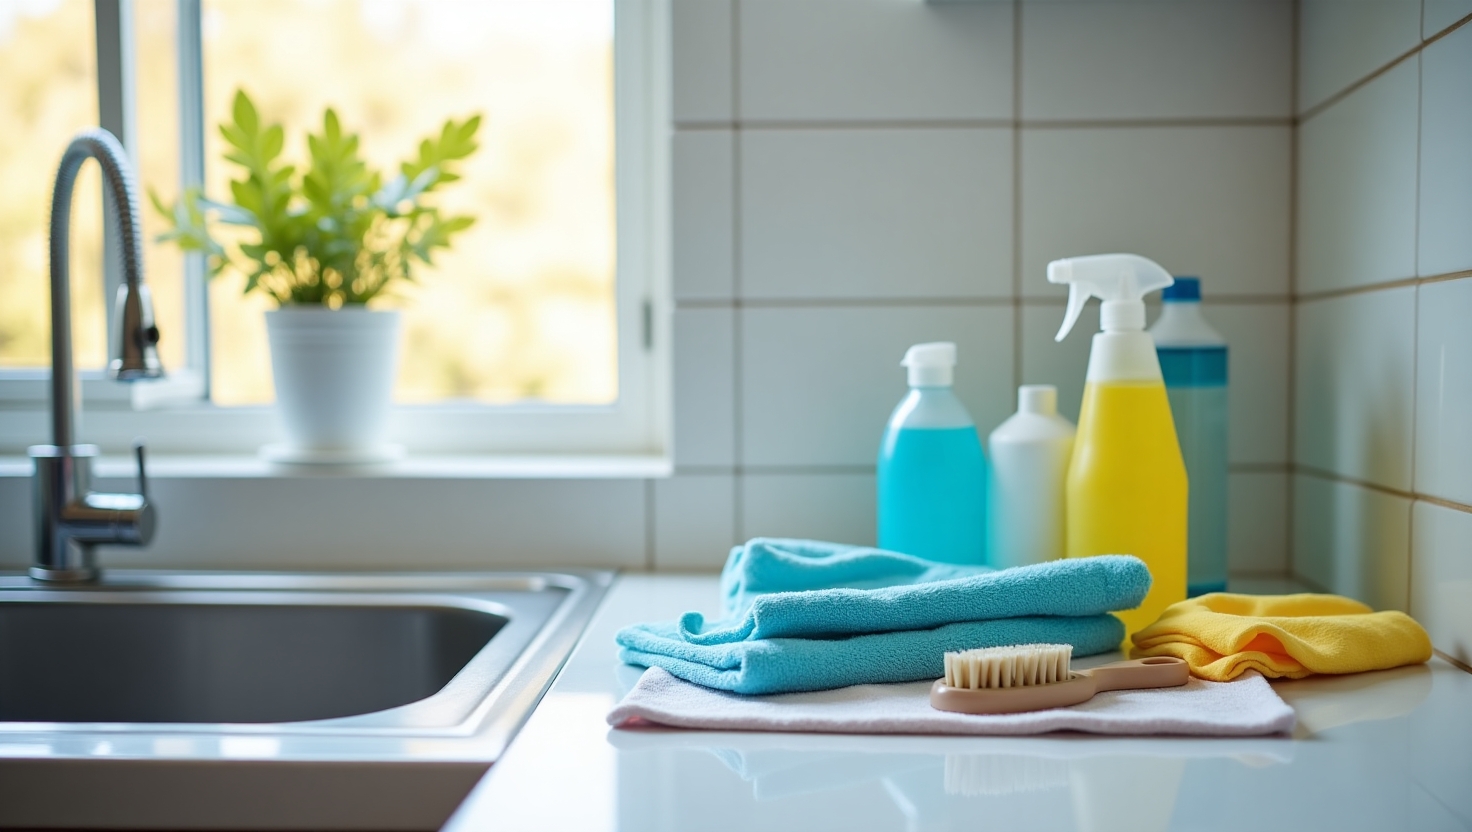
- Microfibre cloth
- Gloves, etc.
These are common tools, and you will face no hardship in arranging them. Assemble them in one place when starting to clean.
5 Easy Steps to Clean Range Hood
Cleaning the range hood is not very difficult. You can do it by following 5 simple steps. Here is how to do it:
Step 1: Remove The Dry Dust Layers
This is the first step of your kitchen exhaust cleaning. Remove the dry layer of dust. It saves you from the spread of dirt during the cleaning process. The process becomes easier and ensures a thorough and efficient appliance cleaning. To safely dust the exhaust hood, you can follow these steps:
- Turn off the range hood first.
- Use a soft, dry microfibre cloth to wipe the exterior. Focus on the hood vent area, as it collects a lot of dust.
- Some spots can be hard to reach with the cloth. In that case, you can use a small toothbrush.
Dust can accumulate over time. It reduces efficiency and blocks the ventilation systems. This leads to odours lingering in the kitchen. The lifespan of the range hood is affected as well. So, you must pay attention to dusting the machine when cleaning it.
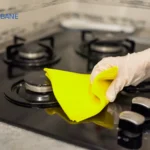
Step 2: Clean the Outer Surface of the Range Hood
You should now focus on the outer surface of the range hood. It promotes kitchen hygiene and helps in range hood maintenance. Follow these steps to clean the outer surface properly:
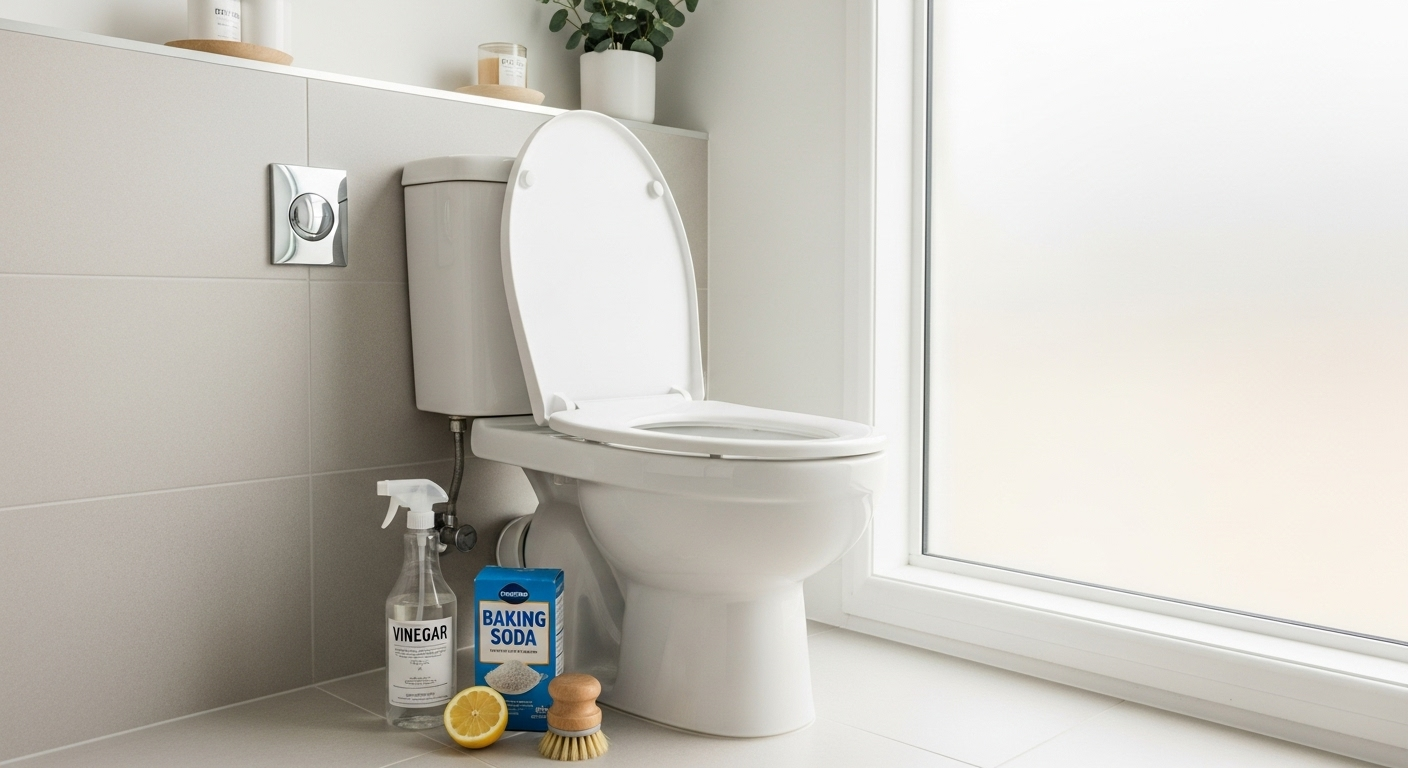
- Prepare a cleaning solution with warm water and dish soap. Stir properly to mix them. You can also add some white vinegar and baking soda to it. According to NSW Environment and Heritage, vinegar is a mild detergent and cuts through greases as well.
- Use a microfibre cloth to wipe down the entire exterior of the range hood. Pay special attention to areas around the exhaust system and ventilation openings. Grease and grime tend to accumulate in these areas.
- Some stains can get stubborn. You can use a scrub brush with soft bristles to remove stubborn spots.
You need to avoid using abrasive chemicals. They can leave scratches on the surfaces. Instead, use the green products. There is no risk of scratches and it also contributes to the kitchen’s air quality improvement.
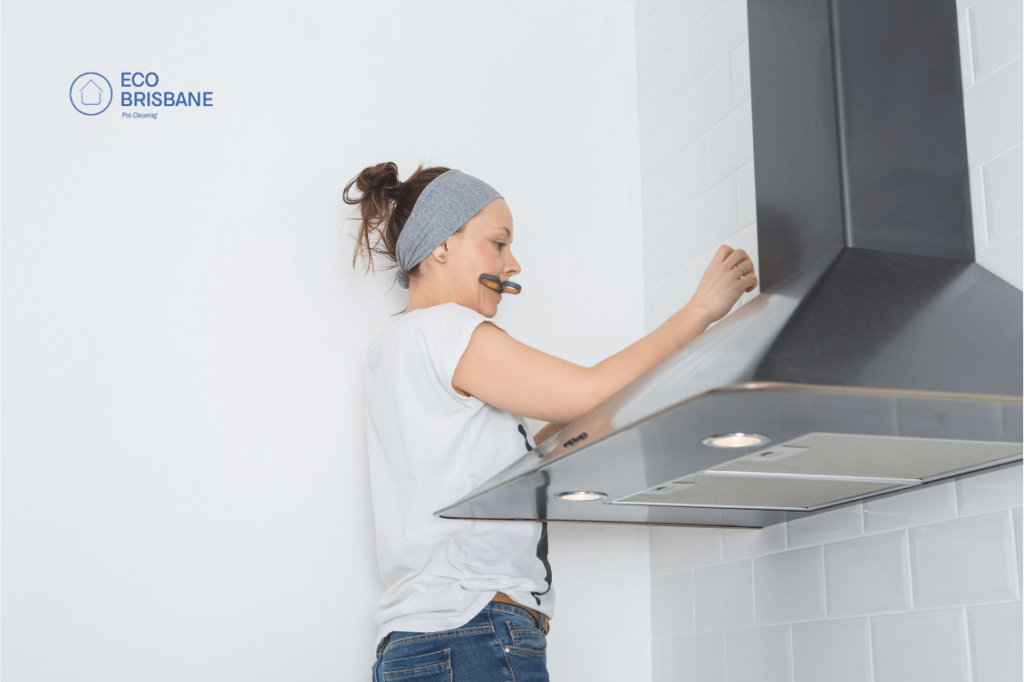
Step 3: Remove And Clean The Rangehood Filter
The efficiency of the hood vent depends significantly on the hood filter. It prevents cooking residue buildup. The filter is removable, which makes cleaning much easier. You must clean the filters regularly. Otherwise, it can get choked with flammable gasses or oil. According to the QBCC, it makes the range hood a potential high fire source. Here is what you need to do to clean it:
- Turn off the hood fan first and let it cool down.
- Locate the hood filter. It is usually located under the range hood.
- Some models have slide-out white, and some require unscrewing to detach the buildup. You should check and follow the manufacturer’s instructions for safe removal.
- Fill a sink or bucket with hot water and dish soap. You can also use a degreasing agent. Submerge the hood filter completely and let it soak for about 10-15 minutes. It will loosen grease and grime.
- Use a soft brush to scrub the filter gently. You have to pay attention to both sides and crevices where grease may be trapped. For stubborn residue, a paste of baking soda and water can be effective.
- Now, rinse the hood filter thoroughly with clean water. Make sure no cleaning agents or residue remains. Shake off the excess water and let it air dry completely before reinstalling.
- However, sometimes the filter can be too dirty to use anymore. In that case, you have to replace it. Filter replacement ensures deep cleaning and maintains optimal airflow and filtration efficiency.
Step 4: Wipe Stains from Inside the Hood
Cleaning the inside is critical and requires cautiousness. Proper cleaning of the inside maintains its performance and longevity. Make sure the range hood is turned off and cool. Remove the filters if you have not done so yet.
You can start by spraying a degreasing agent on the interior surfaces. Focus on areas near the grease trap. They tend to accumulate the most grease. Let the degreasing agent sit for a few minutes. It takes some time to break down the built-up grease.
Next, you can use a microfibre cloth to wipe away the loosened grease. Are there stubborn greases? Then, follow the previous method of scrubbing with a soft brush.
Some range hoods have stainless steel surfaces inside. You need to use a stainless steel cleaner on them after the degreasing agent. It removes any remaining residue and helps maintain the finish of stainless steel surfaces. It prevents scratches, restores shine, and ensures the range hood looks polished. Finally, dry the interior with a soft and dry cloth. This will prevent water spots.
Step 5: Verify The Safety of The Vent
The duct is the passage that directs air from the hood to the outside. It plays a role in removing smoke, steam, and odours from the kitchen. Its safety is crucial for proper kitchen ventilation. Observe the following things during the check-up:
- Make sure the ductwork is securely connected and free from damage.
- Check for any blockages in the vent. Debris or grease buildup can obstruct airflow.
- Use a flashlight to look inside the duct. If you spot any blockages, clean them out carefully.
- Next, verify that the vent cap outside your home is clear. This is an important part of duct maintenance. Make sure there are no obstructions like leaves or bird nests.
- Finally, turn on the range hood and check the airflow. The air should flow smoothly through the duct and out of the vent. If you notice any issues, address them promptly to maintain safety and efficiency.
Why Is It Important to Clean Range Hood?
You need to keep the range hood clean regularly. It keeps the kitchen safe and efficient. There will be more grease and bad odour if the range hood does not work properly. Here are other reasons to clean the range hood:
- Lack of cleaning can result in grease buildup. It poses a significant risk of fire hazard.
- Clean filters trap smoke, steam, and cooking odours.
- Regular cleaning reduces the risk of bacteria and mould growth.
- Keeping the machine clean is a cost-effective approach. It prolongs the lifespan of range hood and saves replacement or changing costs.
- A clean range hood promotes the kitchen air quality. It remains healthy and safe for you to work there.
How Often to Clean Range Hood?
The cleaning frequency varies depending on how often you use a range hood. Commercial places need monthly deep cleaning. For household kitchens, cleaning the range hood every three months might be okay. Cooking frequency, types of cooking, filter type, ventilation, etc., influence the cleaning frequency. However, you should look for different signs that hint at cleaning:
- The hood is not removing smoke, steam, or dust properly.
- A sudden increase in the noise from the machine.
- The presence of odours inside the kitchen may hint at the inefficiency of the range hood.
- Consider cleaning the hood when the surfaces feel sticky or greasy
DIY vs Professional Cleaning for Range Hood Deep Cleaning
DIY cleaning is okay for range hood. However, you must have the right tools and expertise for the task. DIY Cleaning is cost-effective. You can save money by doing it yourself. It also allows you to clean at your own convenience. You will need basic supplies like degreasing agents, clothes, and brushes. Follow step-by-step guides to ensure thorough cleaning.
However, DIY cleaning can be time-consuming and messy. You must also be careful to avoid damaging parts of the hood. Professional Cleaning offers thoroughness and expertise. Professionals have the right tools and experience to clean deeply and efficiently. They can also identify potential issues with your range hood and fix them. Hiring professionals saves you time and effort. They also save you money in the long run. Your range hood will last longer and boost a healthy cooking space inside the kitchen.
You can try regular cleaning yourself. For deep cleaning and other major issues, contact professionals.
Final Thought
Clean range hood improves kitchen hygiene and the environment. You can clean them in five easy steps. However, DIY cleaning has some demerits. Unless you are experienced, you had better let professionals deal with the issue. Eco Cleaning Brisbane offers all sorts of cleaning services, including kitchen and range hoods. We use only green cleaning products. It promotes hygiene and is also safe for you to use them. You can call us or contact us through email or other social media platforms.