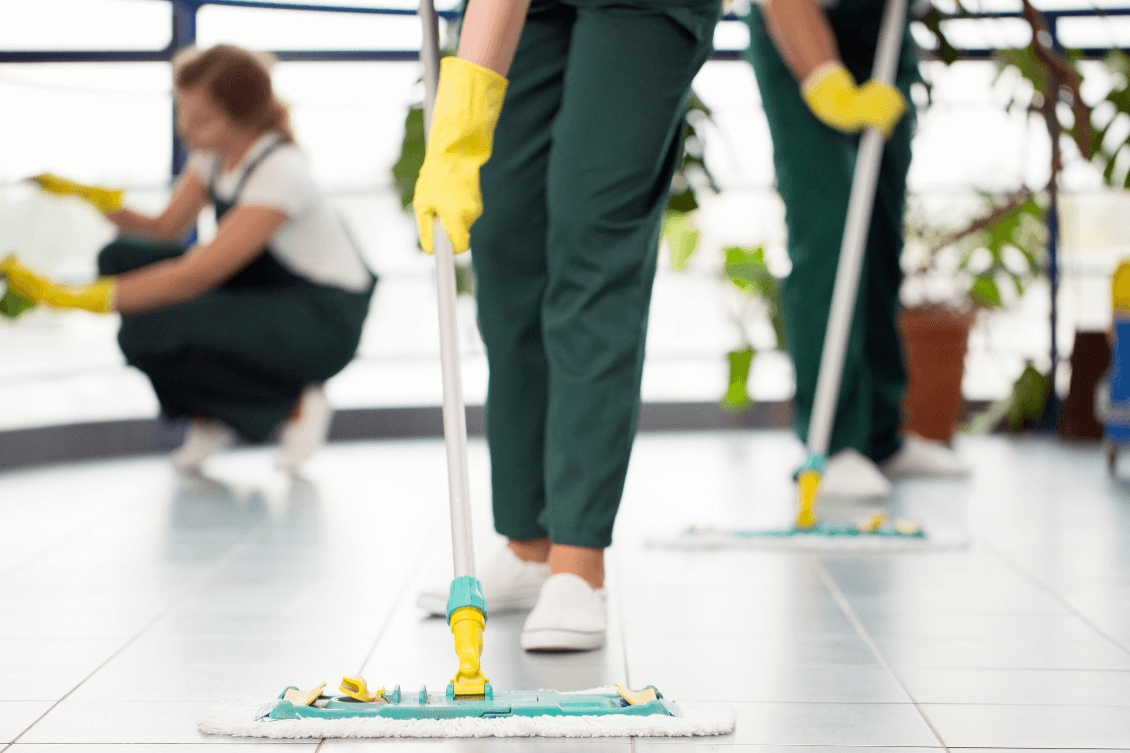
End-of-lease cleaning is also known as bond cleaning. It’s a form of deep cleaning. A tenant performs it before leaving the property. The aim is to return the property to the state you first moved in. Failure to clean can result in reduced or no security deposit return. This type of cleaning is much more extensive than regular housekeeping. You have to attend every nook and corner. There will be stubborn stains that have been there for years. As a result, they don’t remove easily. The task can be quite overwhelming. Therefore, you need proper planning and techniques to finish it in time.
What Is The Difference Between Regular Cleaning And End of Lease Cleaning?
Regular cleaning is merely day-to-day maintenance. It’s about keeping the living space clean and tidy. It includes normal dusting, vacuuming and washing dishes.
In comparison, end-of-lease cleaning is a legal requirement. It’s part of the lease agreement. Australian authorities expect tenants to leave a house in the same conditions during their move-in.
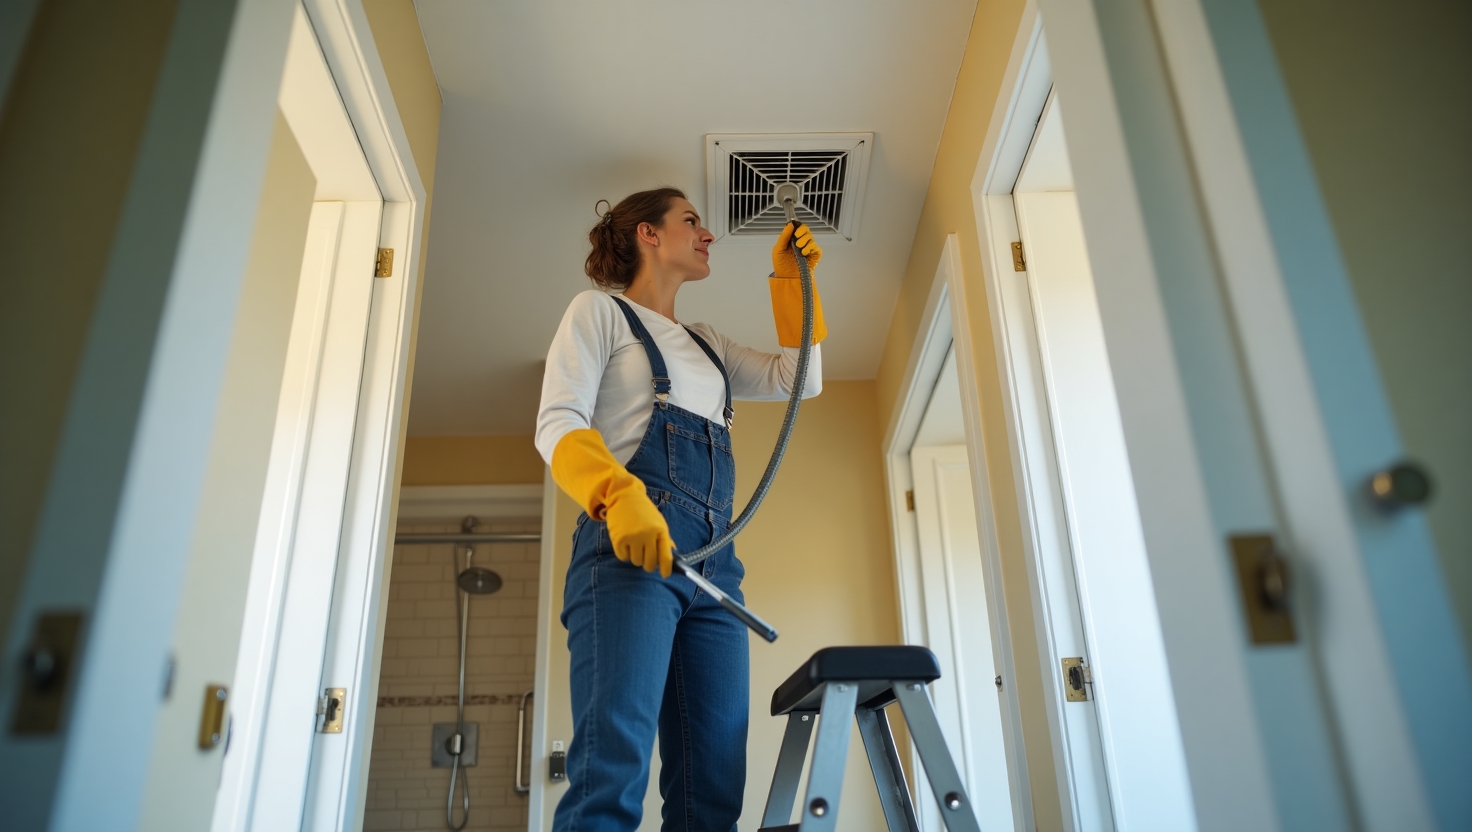
Therefore, it requires more detailed cleaning. You might not clean behind the lights, ceiling fans and other hard-to-reach places during regular cleaning. However, bond cleaning requires you to clean them.
What are the most common areas that landlords inspect for cleanliness?
- Condition of walls, floors, countertops, windows
- Cleanliness of carpets, cabinets, fixtures
- Condition of stoves, refrigerators, dishwashers
- Plumbing and fixtures
- Electrical systems.
- Lawns, gardens and balconies
- Roof and gutters.
- Driveways and walkways.
Tips For Stubborn Stains During End of Lease Cleaning
There are some stains you never get around to cleaning. These are on the carpets, kitchen, walls and the bathroom. They might not bother your daily life. However, they will be on your landlord’s cleaning checklist during a move-out inspection.
Carpet Stain Removal
It’s hard to live in a house for years and not stain the carpet. Food and drink spills are inevitable. Also, there are pet accidents. Plus, foot traffic draws in a lot of dirt. Long-standing stains penetrate deep into the carpet fibres. Some liquid stains might even chemically alter the material. As a result, these stains aren’t easy to get rid of.
Below are some DIY cleaning tips for carpet stains. These methods only require common household items. However, they may not always be effective for ancient stains. Seeking professional cleaners would be the smart move. Otherwise, you might end up damaging the carpet.
Dish Soap and Vinegar
- Fill a spray bottle with a cup of warm water
- Add a teaspoon of liquid dish soap to it. Mix it well. It will be an equal parts solution if you are using vinegar.
- Spray the liquid on the stain. Don’t make it soaking wet. Just mist it. Allow a few minutes for the soap/vinegar to work.
- Put a paper towel on the area to blot the stain. Do not try to rub the stain off. This might make the stain get deeper into the fibres. You may also damage the surface. Repeat the blotting process a few times for tougher stains.
- Extract the soapy solution from the carpet after removing the stain. Use a shop vacuum or absorbent cloth. Then, gently rinse the area with warm water. This will rid the spot of any soap residue.
- Allow the carpet to air-dry completely.
Baking Soda
- Remove any loose debris from the stained area by vacuuming it.
- Apply a layer of baking soda over the stain. You can create a thin or thicker layer depending on the stain. Allow the baking soda to sit on the stain for a minimum of 15 minutes. Leave it overnight for more stubborn stains.
- Gently use a soft bristle brush to remove the baking soda along with the stain. Vacuum again to properly clean the area.
Carpet Stain Prevention Tips
- Clean up spills immediately. Spot clean when the stain is still fresh.
- Vacuum the carpet regularly.
- Avoid dining and drinking on the carpet.
- Do not walk on the carpet with shoes
Oven Cleaning
The oven operates at a high temperature. Food particles and grease spill inside the oven when cooking. The high temperature hardens them. Over time these accumulate into stubborn stains. You can clean them with baking soda. Another effective DIY method is vinegar steam.
Baking Soda Method
- Start with a cool oven. Take out all the removable items. These include racks, thermometers, etc.
- Sprinkle baking soda on the stained area. Create a quarter-inch thick layer of baking soda on severe stains. Spray some water on the soda to dampen it.
- Sprinkled baking soda will fall off the sides and top surfaces. So, apply a baking soda paste in those spots. Mix just enough warm water to create the paste. It shouldn’t be runny and have a thick consistency.
- Leave the baking soda inside the oven for at least 12 hours. The paste and the damp soda will turn black or brown during this time. This happens because the soda absorbs the stains.
- Use a damp cloth or sponge to wipe the soda and the loosened stains away.
Vinegar Steam Method
- Start with a hot oven
- Take an oven-safe tray. Pour a cup of boiling water on the tray. Then add a cup of white vinegar. Put the tray inside the hot oven.
- Wait for 20 minutes. The vinegar steam will soften the stains during this time.
- Scrape off the softened residue.
Oven Stain Prevention Tips
- Use baking sheets or oven liners to catch cooking spills.
- Routinely clean the racks and other removable
- Use your oven’s self-cleaning function if it has one. The oven will heat up to extreme temperatures and turn the stains into ash.
Wall Scuff Marks
These are black or brown marks on your wall. Their presence immediately tells the landlord about the tenant’s negligence. Friction or abrasion causes these scuff marks. For instance, when you push furniture against the wall. They might also happen from kids rubbing shoes or toys.
Scuff marks are a result of damaged paint film. There are microscopic hairs in the film. Normally, they stand straight to absorb light. When something rubs against the wall it flattens these hairs. As a result, it appears darker than the rest of the paint. Here are a few tips to get rid of them-
- Damp a microfibre cloth with water. Wipe the stains using a gentle circular motion. The marks will come off. This works for flat paint.
- Add dish soap to the water in case of gloss paint. Use vinegar with the water for oil-based paint.
- Use a dry cloth to buff the surface
- For more stubborn scuff marks use a melamine sponge. This is also known as the Magic Eraser. Gently scrub the marks with a damp Eraser. Then dry the spot with a damp cloth.
Wall Stain Prevention Tips
- Don’t smoke inside the house. This causes soot stains in the wall.
- Clean up any smudges or hand marks as soon as possible. You can use toothpaste to clean crayon marks.
- Dust the wall regularly to prevent build-up
Bathroom Mould Removal
Mould is a type of fungus. Damp, unlit areas are its ideal breeding ground. Humid and dirty surfaces develop mildew first. It turns into mould when left untreated. Mould can deteriorate the tiles and other surfaces. It can create a nasty odour too. Plus, mould can cause allergic symptoms in the inhabitants. Here are a few ways to get rid of mould-
Sodium Borate
- Borax is a well-known fungicide. It’s effective for other cleaning too. It will remove mould along with ensuring it never returns.
- Mix borax with water following a 1:16 ratio.
- Wear gloves and dip a sponge in the solution. Scrub the mould off with the sponge.
- For severe mould, spray the borax solution on the area to dampen it. Let the solution rest for 2-3 hours. Then, scrub it off.
- Clean the area with clean distilled water and dry it up.
Bleach and Vinegar
Chlorine bleach is an effective mould killer. However, use bleach only on non-porous surfaces. Mix bleach and water in a 1:9 solution. Spray it on the mould. Let it rest for several minutes. Now, scrub and rinse the surface. You might also spray undiluted vinegar instead of bleach solution. The natural acid readily kills mould. Avoid bleach or undiluted vinegar on painted and wooden surfaces.
Mould Prevention Tips
- Fix all leaks in the bathroom
- Use an exhaust fan to reduce humidity
- Use a Squeegee on the shower walls to dry them. The overall aim is to keep the bathroom as dry as possible.
FAQs
Should I hire professional cleaners or do the cleaning myself?
You should hire a professional cleaner for bond cleaning. There are certain standards you have to maintain during the task. Professional cleaners are well-versed in those. They take a well-planned approach. Plus, they use proper techniques and cleaning supplies. As a result, they can do a much more effective job in reduced time.
How far in advance should I start end-of-lease cleaning?
Start the process at least 4 weeks before the lease ends. The first week is for decluttering and organising your belongings. Make a list of all the stains and damages in the next week. Research professional cleaners and make an appointment. Start cleaning walls and ceilings in the third week. Keep the final week for frequently used areas like carpets, kitchen and washroom.
Final Words
Professional cleaners are the best option for bond cleaning. Amateur attempts might work for a small house you have lived in for a few months. However, it’s extremely difficult when you’ve stayed there for many years. Eco Cleaning Brisbane can be a perfect solution here. We have provided cleaning services in Australian cities for more than 20 years. Our experts are well-trained in bond cleaning standards. Plus, we only use eco-friendly cleaning products for service. So hire us to respect the terms of your lease agreement.
